Map Page
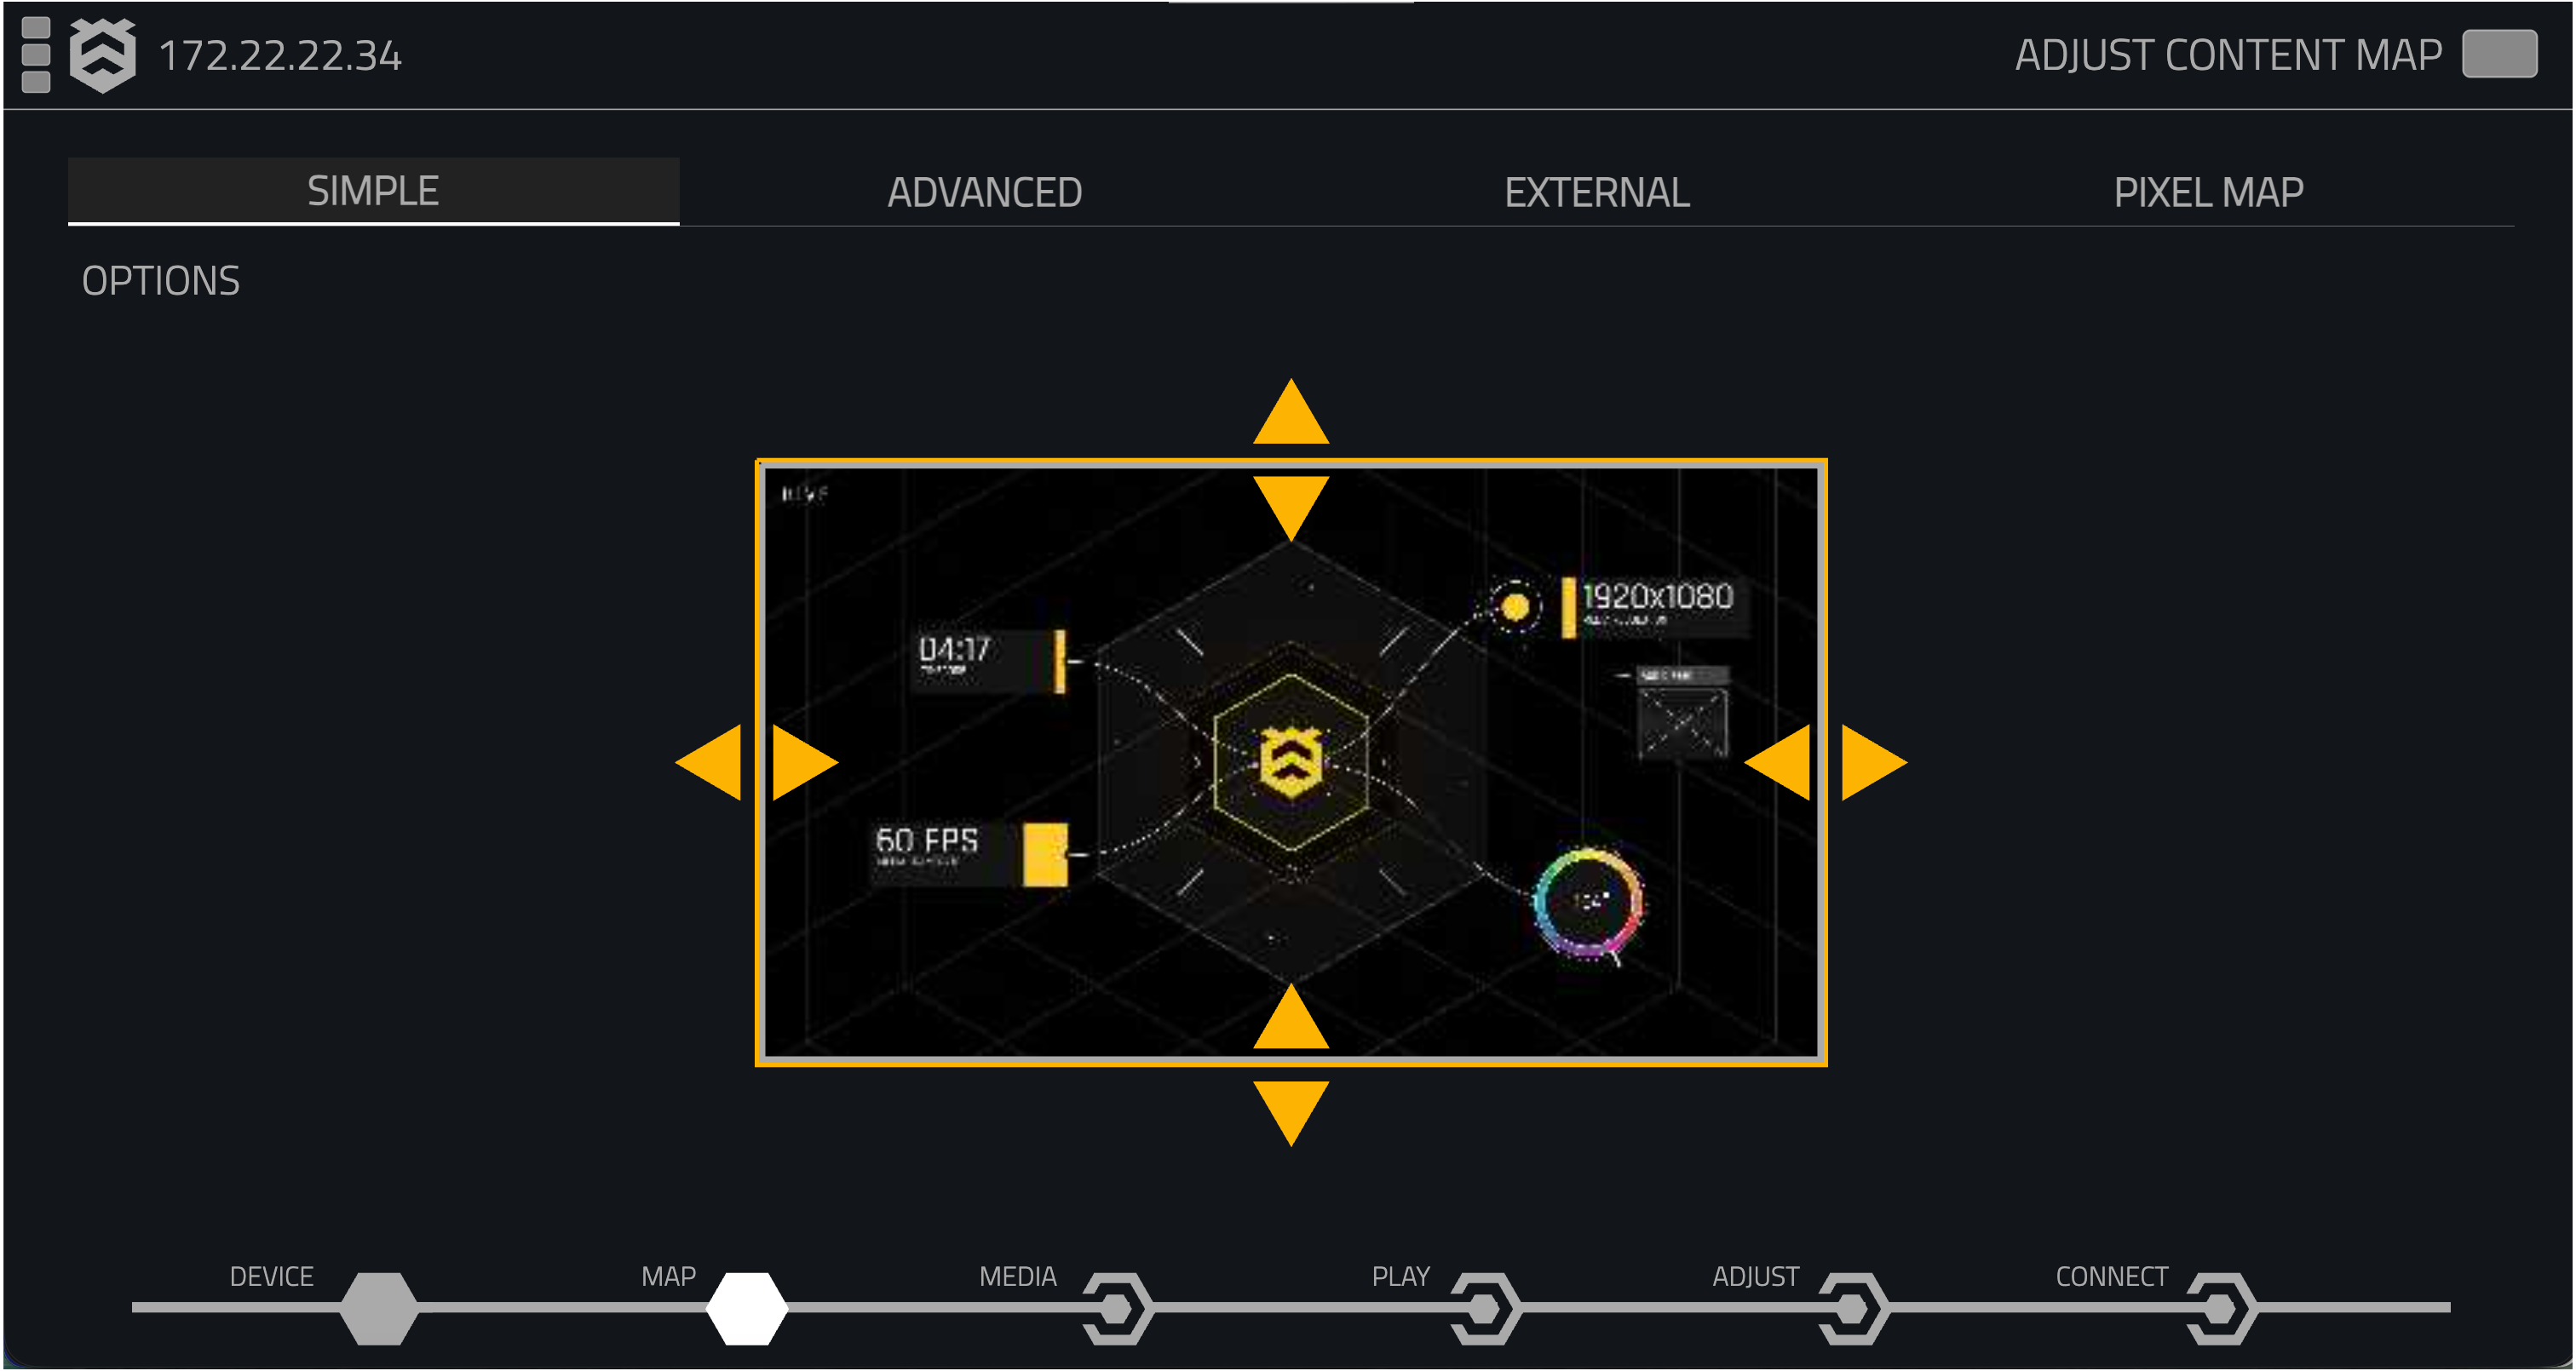
The Map Page is the central workspace for configuring how media is positioned, mapped and routed to the Player's visual output.
The Map Page provides four mapping workflows:
- Simple
- Advanced
- External
- Pixel Map
Each workflow is designed for a different type of output configuration, from quickly positioning content on a display through to complex multi-region mapping, external calibration workflows and video-to-lighting pixel mapping.
Which Mapping Mode Should I Use?
The mapping mode you use depends on the requirements of your project.
| I want to... | Use |
|---|---|
| Quickly resize and position content on an output | Simple Mapping |
| Configure a basic LED wall or projector output | Advanced Mapping |
| Create multiple independently positioned Regions | Advanced Mapping |
| Use warp, mask or more detailed mapping tools | Advanced Mapping |
| Route Layers and Mixes to different Regions | Advanced Mapping |
| Use a VIOSO calibration | External Mapping |
| Import and use MPCDI calibration data | External Mapping |
| Integrate with Screenberry | External Mapping |
| Map video to DMX-controlled lighting fixtures | Pixel Map |
For most basic display configurations, start with Simple Mapping. Move to Advanced Mapping when you require multiple Regions, warping, masking or more complex content routing.
Simple Mapping

Simple Mapping provides a quick way to position and resize the Player's visual output.
It is ideal for straightforward display configurations such as:
- LED walls
- Single projectors
- Displays
- Basic output positioning
The mapping controls allow the output canvas to be resized and repositioned visually, making it easy to fit content to the required display area without creating individual Regions.
For more information, see Simple Mapping.
Advanced Mapping

Advanced Mapping provides more detailed control over how content is taken from the source and mapped to the Player's output.
Advanced Mapping introduces Regions, allowing multiple areas of the source and output to be configured independently.
It also provides access to additional mapping tools including:
- Multiple Regions
- Source and Output Region positioning
- Region scaling and rotation
- 4-Point Warp
- 4-Point Mask
- Warp Grid
- Warp Mask
- OBJ Mapping
- Region snapping
- Layer and Mix routing
- Layer Manager
Advanced Mapping is suited to more complex installations where individual areas of the output need to be positioned, transformed or controlled independently.
For more information, see Advanced Mapping.
External Mappings

External Mapping provides integration with external calibration and mapping workflows.
Hive currently supports:
- VIOSO
- MPCDI
- Screenberry
External Mapping allows calibration and mapping data created using supported external systems to be used as part of the Player's output workflow.
This is particularly useful for multi-projector installations where external calibration software is being used for geometry correction, warping and blending.
The controls available within the External Mapping page change depending on the external mapping system selected.
Calibration and configuration of third-party systems is performed using the relevant external software. The External Mapping page provides the Hive-side controls required to integrate the resulting calibration with the Player.
Refer to the documentation provided by the external system manufacturer for information about creating and configuring calibrations.
For more information, see External Mapping.
Pixel Map

The Pixel Map workflow maps video content to DMX-controlled lighting fixtures.
Video can be sampled across configurable fixture grids and transmitted to compatible lighting systems using:
- Art-Net
- sACN
Pixel Map provides controls for creating and positioning fixtures, configuring pixel grids, selecting video sources, assigning DMX universe and channel addressing, and managing how sampled video data is transmitted.
This allows video content from the Player to drive LED fixtures and other pixel-based lighting systems.
For more information, see Pixel Mapper.
Queen and Worker Mode Mapping
When using Queen and Worker Mode, mapping configurations remain independent on each Player.
The Queen can control broader system operations, but Map Page configurations are not automatically propagated from the Queen to connected Workers.
This means that:
- Each Player maintains its own mapping configuration.
- Regions and output positioning can be configured independently on each device.
- Changes made to the Queen's Map Page do not automatically change the mapping configuration of Worker devices.
This allows each Player's output to be mapped specifically for the display or projector connected to that device.
When configuring a multi-device system, check the Map Page on each Player that requires a unique output configuration. Mapping changes made on the Queen should not be assumed to have been applied to Worker devices.