Schedule
The Schedule tab allows you to set up schedules for playlists, control commands, timelines, and media files. You can automate content playback at specific times or days, enabling seamless control of your media without manual intervention. The schedule feature empowers you to customise your playback to suit your timing and preferences.
Turning on the Scheduler
To activate the scheduler:
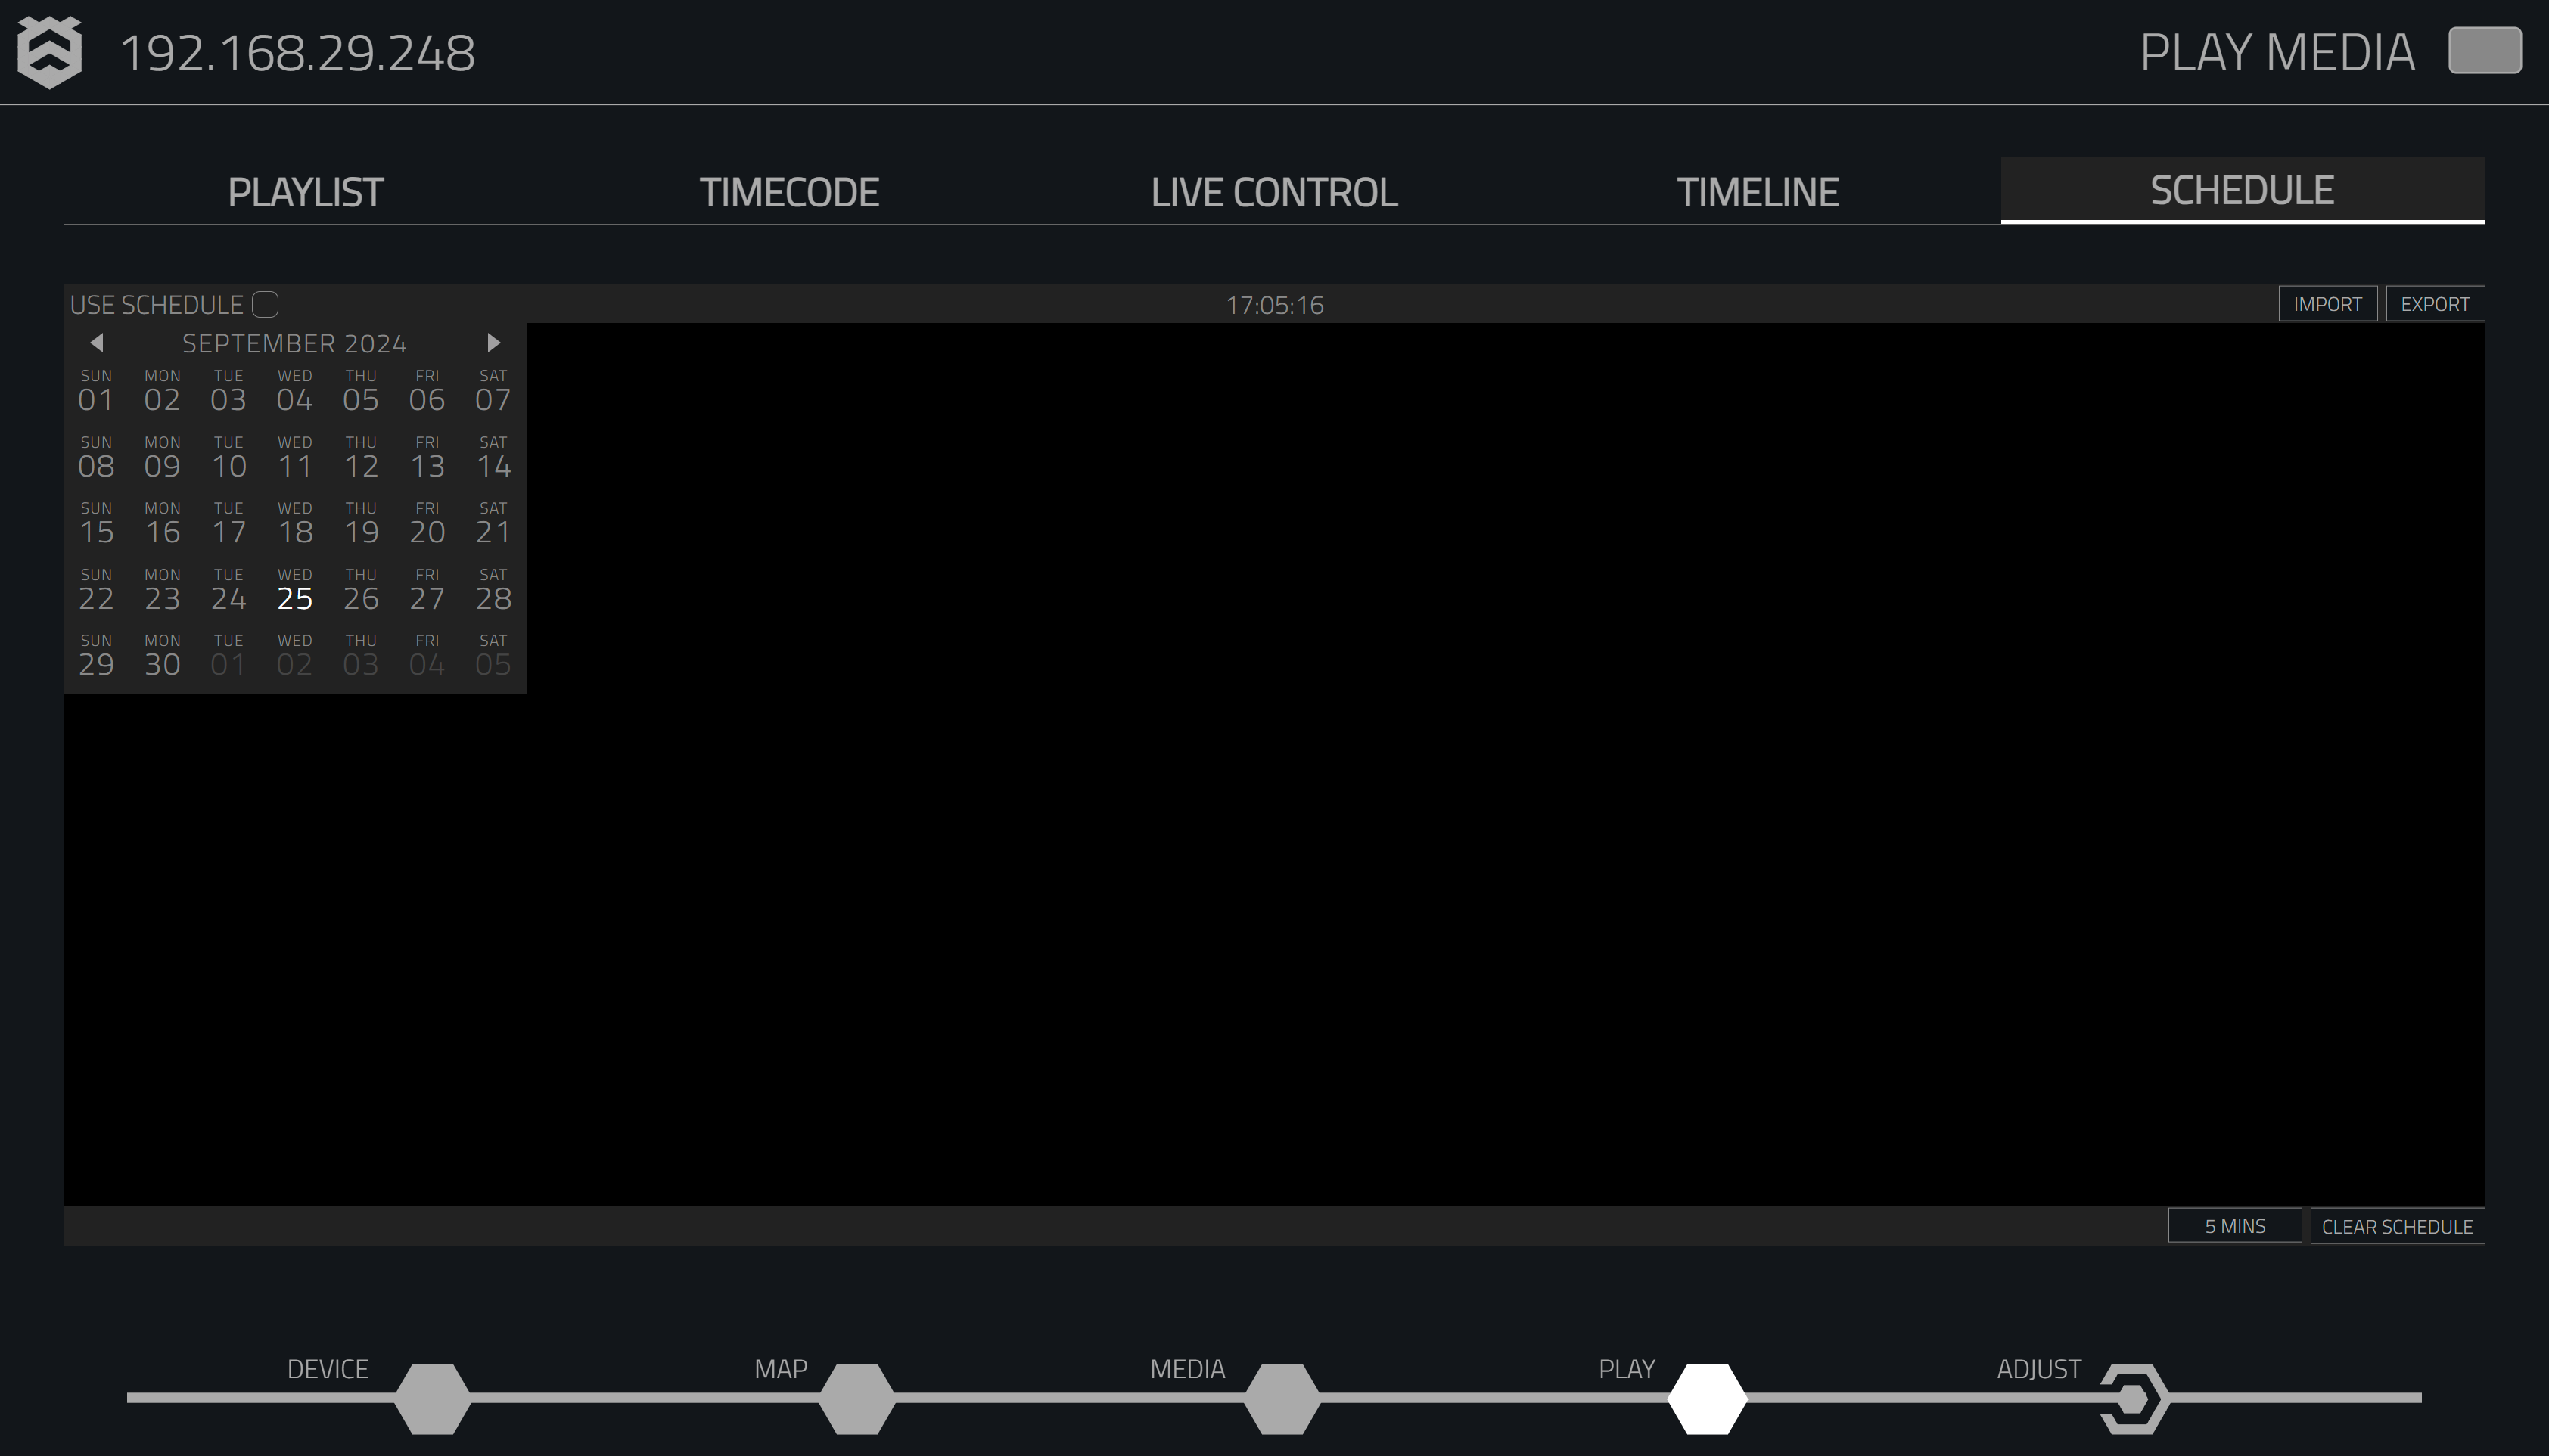
- Navigate to the Schedule tab on the play page.
- Check the box labelled "Use Schedule" above the date selection tool to enable the schedule function.
Interacting with the Scheduler UI
When you select a day from the calendar on the left side of the screen, the UI will update to display the hours of that day, allowing you to assign actions to specific time slots. Each hour is split into 5-minute increments by default, but you can adjust the increments using the time buttons at the bottom of the screen.

Adding Playlists to Your Scheduler
To schedule a playlist:
- Select the day you want the playlist to start.
- Navigate to the time slot and click Add.
- Default increments are hourly, but you can adjust down to 1-minute intervals using the hour and minute buttons at the bottom.
- Choose Load Playlist from the options.
- A dialog box will prompt you to name the playlist. Name it and click OK.
- If you have multiple playlists, name each one clearly to avoid confusion.
- The playlist is now scheduled. To stop the playlist:
- Navigate to the day and time you want the playlist to stop.
- Click Add and select Media.
- Select the Black Media Clip and set the necessary repeat options.
Adding Timelines to the Scheduler
To schedule a timeline:
- Select the day and time you want the timeline to start.
- Click Add to open the scheduling options.
- Select Load Timeline.
- A dialog box will prompt you to name the timeline. Name it and click OK.
- If you plan to use multiple timelines, name each one accordingly.
- The timeline will now be scheduled. To stop the timeline:
- Navigate to the day and time to stop the timeline.
- Click Add and select Media.
- Choose the Black Media Clip and configure the repeat options as needed.
Adding Commands to the Scheduler
To schedule a command:
- Select the date and time you want the command to trigger.
- Click Add Command and a dialog box will appear.
- Enter the command and select Continue.
- A second box will ask for a value between 0 and 1. Input the desired value and click Continue.
Adding Single Media Clips to the Scheduler
To add a single media clip to the schedule:
- Select the day and time you want the media clip to start.
- Choose the media file from the list of available options.