The Hive Manual
screenberry 2 projector blend
1. Open Screenberry server
2. Open screenberry panel
3. Open extracted project
4. Double click canvas and check the canvas size is correct
5. Select test pattern node and change size to full canvas res
6. Select quad warp render target and make the same size as test pattern
7. Enable Screenberry mode on hive units – make tutorial on how to do this
8. Navigate back to screenberry, select camera node and select refresh camera
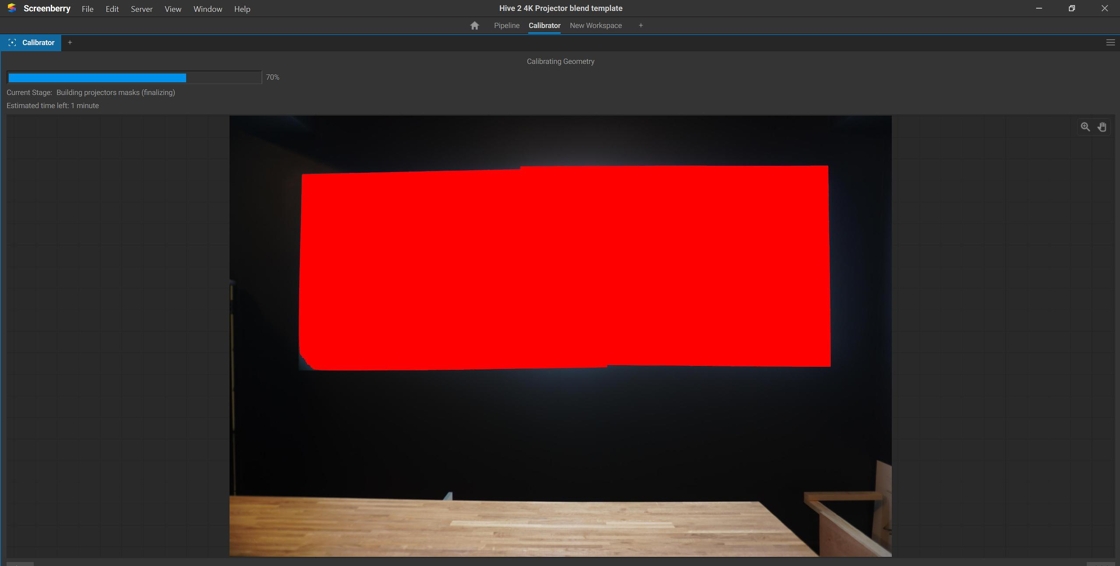
9. Select the calibrator page
10. Select geometry and check sample photo
11. When happy select start
12. When complete select finish go back to pipeline and open the quad grid
13. Move corner points by using a mouse and use W,A,S,D keys while holding shift to fine tune
14. When finished fine tuning return to the node graph and select the domesdk saver node
15. Select browse and create a folder called calibrations, open and create a folder for you calibration and open this and press okay
Tip: (For best practice create a new folder for every calibration)
16. Select your calibration folder and press save
Tip: this is a good calibration